No edit summary |
K6ka (Message Wall | contribs) m (i swear Visual mode is evil, creating empty spaces for no good reason) |
||
| Line 32: | Line 32: | ||
|} |
|} |
||
==The Last Stand: Dead Zone== |
==The Last Stand: Dead Zone== |
||
| − | |||
===Effect=== |
===Effect=== |
||
Medical Items are used to treat [[Injury|injuries]]. What injuries can be treated by a specific Medical item is determined by its type and Grade. |
Medical Items are used to treat [[Injury|injuries]]. What injuries can be treated by a specific Medical item is determined by its type and Grade. |
||
| Line 63: | Line 62: | ||
*10 Threads |
*10 Threads |
||
*50 {{DzCloth}} |
*50 {{DzCloth}} |
||
| − | |||
Likely [[Scavenging]] Locations: |
Likely [[Scavenging]] Locations: |
||
*[[Hospital (Location)]] |
*[[Hospital (Location)]] |
||
| − | |||
Recycling [[Medical Kit]]s |
Recycling [[Medical Kit]]s |
||
|15 {{DzCloth}} |
|15 {{DzCloth}} |
||
| Line 75: | Line 72: | ||
*3 Straps |
*3 Straps |
||
*50 {{DzCloth}} |
*50 {{DzCloth}} |
||
| − | |||
Likely [[Scavenging]] Locations: |
Likely [[Scavenging]] Locations: |
||
*[[Hospital (Location)]] |
*[[Hospital (Location)]] |
||
| Line 102: | Line 98: | ||
*15 Threads |
*15 Threads |
||
*10 {{DzFuel}} |
*10 {{DzFuel}} |
||
| − | |||
Likely [[Scavenging]] Locations: |
Likely [[Scavenging]] Locations: |
||
*[[Hospital (Location)]] |
*[[Hospital (Location)]] |
||
| Line 111: | Line 106: | ||
*10 Threads |
*10 Threads |
||
*50 {{DzCloth}} |
*50 {{DzCloth}} |
||
| − | |||
Likely [[Scavenging]] Locations: |
Likely [[Scavenging]] Locations: |
||
*[[Hospital (Location)]] |
*[[Hospital (Location)]] |
||
| − | |||
Recycling [[First Aid Kit]]s or [[Medical Kit]]s |
Recycling [[First Aid Kit]]s or [[Medical Kit]]s |
||
|15 {{DzCloth}} |
|15 {{DzCloth}} |
||
| Line 123: | Line 116: | ||
*20 Threads |
*20 Threads |
||
*10 {{DzFuel}} |
*10 {{DzFuel}} |
||
| − | |||
Likely [[Scavenging]] Locations: |
Likely [[Scavenging]] Locations: |
||
*[[Hospital (Location)]] |
*[[Hospital (Location)]] |
||
| Line 133: | Line 125: | ||
*5 Straps |
*5 Straps |
||
*10 {{DzFuel}} |
*10 {{DzFuel}} |
||
| − | |||
Likely [[Scavenging]] Locations: |
Likely [[Scavenging]] Locations: |
||
*[[Hospital (Location)]] |
*[[Hospital (Location)]] |
||
| Line 143: | Line 134: | ||
*15 Threads |
*15 Threads |
||
*10 {{DzFuel}} |
*10 {{DzFuel}} |
||
| − | |||
Likely [[Scavenging]] Locations: |
Likely [[Scavenging]] Locations: |
||
*[[Hospital (Location)]] |
*[[Hospital (Location)]] |
||
| Line 153: | Line 143: | ||
*5 Treated Wood |
*5 Treated Wood |
||
*10 {{DzFuel}} |
*10 {{DzFuel}} |
||
| − | |||
Likely [[Scavenging]] Locations: |
Likely [[Scavenging]] Locations: |
||
*[[Hospital (Location)]] |
*[[Hospital (Location)]] |
||
| Line 162: | Line 151: | ||
*5 Threads |
*5 Threads |
||
*25 {{DzCloth}} |
*25 {{DzCloth}} |
||
| − | |||
Likely [[Scavenging]] Locations: |
Likely [[Scavenging]] Locations: |
||
*[[Hospital (Location)]] |
*[[Hospital (Location)]] |
||
| Line 171: | Line 159: | ||
*25 {{DzCloth}} |
*25 {{DzCloth}} |
||
*25 {{DzWood}} |
*25 {{DzWood}} |
||
| − | |||
Likely [[Scavenging]] Locations: |
Likely [[Scavenging]] Locations: |
||
*[[Hospital (Location)]] |
*[[Hospital (Location)]] |
||
| Line 180: | Line 167: | ||
*5 Threads |
*5 Threads |
||
*25 {{DzCloth}} |
*25 {{DzCloth}} |
||
| − | |||
Likely [[Scavenging]] Locations: |
Likely [[Scavenging]] Locations: |
||
*[[Hospital (Location)]] |
*[[Hospital (Location)]] |
||
| Line 189: | Line 175: | ||
*1 Rope |
*1 Rope |
||
*25 {{DzCloth}} |
*25 {{DzCloth}} |
||
| − | |||
Likely [[Scavenging]] Locations: |
Likely [[Scavenging]] Locations: |
||
*[[Hospital (Location)]] |
*[[Hospital (Location)]] |
||
| Line 198: | Line 183: | ||
*15 {{DzMetal}} |
*15 {{DzMetal}} |
||
*15 {{DzCloth}} |
*15 {{DzCloth}} |
||
| − | |||
Likely [[Scavenging]] Locations: |
Likely [[Scavenging]] Locations: |
||
*[[Hospital (Location)]] |
*[[Hospital (Location)]] |
||
| Line 212: | Line 196: | ||
*15 {{DzWood}} |
*15 {{DzWood}} |
||
*15 {{DzCloth}} |
*15 {{DzCloth}} |
||
| − | |||
Likely [[Scavenging]] Locations: |
Likely [[Scavenging]] Locations: |
||
*[[Hospital (Location)]] |
*[[Hospital (Location)]] |
||
| Line 226: | Line 209: | ||
*1 Rope |
*1 Rope |
||
*15 {{DzCloth}} |
*15 {{DzCloth}} |
||
| − | |||
Likely [[Scavenging]] Locations: |
Likely [[Scavenging]] Locations: |
||
*[[Hospital (Location)]] |
*[[Hospital (Location)]] |
||
| Line 239: | Line 221: | ||
|Likely [[Scavenging]] Locations: |
|Likely [[Scavenging]] Locations: |
||
*[[Hospital (Location)]] |
*[[Hospital (Location)]] |
||
| − | |||
Recycling [[Medical Kit]]s |
Recycling [[Medical Kit]]s |
||
|N/A |
|N/A |
||
| Line 252: | Line 233: | ||
*5 Threads |
*5 Threads |
||
*50 {{DzCloth}} |
*50 {{DzCloth}} |
||
| − | |||
Likely [[Scavenging]] Locations: |
Likely [[Scavenging]] Locations: |
||
*[[Hospital (Location)]] |
*[[Hospital (Location)]] |
||
| Line 261: | Line 241: | ||
*25 {{DzMetal}} |
*25 {{DzMetal}} |
||
*25 {{DzCloth}} |
*25 {{DzCloth}} |
||
| − | |||
Likely [[Scavenging]] Locations: |
Likely [[Scavenging]] Locations: |
||
*[[Hospital (Location)]] |
*[[Hospital (Location)]] |
||
| Line 277: | Line 256: | ||
*10 Threads |
*10 Threads |
||
*10 {{DzFuel}} |
*10 {{DzFuel}} |
||
| − | |||
Likely [[Scavenging]] Locations: |
Likely [[Scavenging]] Locations: |
||
*[[Hospital (Location)]] |
*[[Hospital (Location)]] |
||
| Line 287: | Line 265: | ||
*15 Threads |
*15 Threads |
||
*10 {{DzFuel}} |
*10 {{DzFuel}} |
||
| − | |||
Likely [[Scavenging]] Locations: |
Likely [[Scavenging]] Locations: |
||
*[[Hospital (Location)]] |
*[[Hospital (Location)]] |
||
| Line 298: | Line 275: | ||
*5 Straps |
*5 Straps |
||
*10 {{DzFuel}} |
*10 {{DzFuel}} |
||
| − | |||
Likely [[Scavenging]] Locations: |
Likely [[Scavenging]] Locations: |
||
*[[Hospital (Location)]] |
*[[Hospital (Location)]] |
||
| Line 308: | Line 284: | ||
*15 Threads |
*15 Threads |
||
*10 {{DzFuel}} |
*10 {{DzFuel}} |
||
| − | |||
Likely [[Scavenging]] Locations: |
Likely [[Scavenging]] Locations: |
||
*[[Hospital (Location)]] |
*[[Hospital (Location)]] |
||
| Line 318: | Line 293: | ||
*1 Treated Wood |
*1 Treated Wood |
||
*10 {{DzFuel}} |
*10 {{DzFuel}} |
||
| − | |||
Likely [[Scavenging]] Locations: |
Likely [[Scavenging]] Locations: |
||
*[[Hospital (Location)]] |
*[[Hospital (Location)]] |
||
Revision as of 21:54, 1 December 2013
Medical Items are a type of item featured in The Last Stand: Union City and The Last Stand: Dead Zone.
Background
There are hundreds of different kinds of injuries that can be suffered by the human body, many of which impair the capabilities of the wounded person and require specialized equipment and supplies in order to be properly treated. These items, combined with someone trained in their proper usage, are especially valuable in the harsh environment of the Dead Zone, where the risk of injury is ever present and even the slightest impairment can cost someone their life.
The Last Stand: Union City
Medical items are used to quickly heal a set amount of Health. This can mean the difference between life and death if the player is dangerously low on health and can't reach the next Safehouse in time. Food can also be used to restore health, although on a much smaller and weaker scale. Certain medical items (namely No Zzz) can also restore Sleep, however, sleep is only prevalent in Survivor mode, thus it is useless in Run & Gun mode.
The amount of Health that can be healed when using medical items is determined both by the type of item being used and by the First Aid skill.
The medical items featured in the game are listed below.
| Item | Effect | Weight |
|---|---|---|
| Bandages | +5% Health | 0.5 lbs |
| Pain Pills | +15% Health | 0.5 lbs |
| Medkit | +30% Health | 0.5 lbs |
| No Zzz | +25% Sleep | 0.1 lbs |
The Last Stand: Dead Zone
Effect
Medical Items are used to treat injuries. What injuries can be treated by a specific Medical item is determined by its type and Grade.
How to Obtain
- They can be scavenged during missions.
- They can be crafted at a Medical Bench. Higher end ones may require a Medic of a certain level as well.
- They can be purchased with Fuel in The Store.
List
| Name (Grade and Type) | Obtained From | Recycling Products |
|---|---|---|
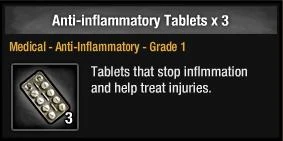
| Anti-inflammatory Tablets (Grade 1 Anti-Inflammatory) |
Likely Scavenging Locations: | N/A |
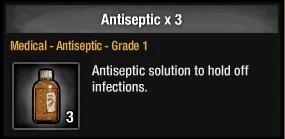
| Antiseptic (Grade 1 Antiseptic) |
Likely Scavenging Locations: | N/A |
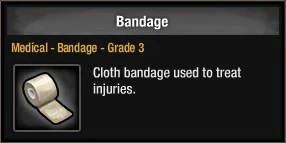
| Bandage (Grade 3 Bandage) |
Can be crafted at a Level 3+ Medical Bench using:
Likely Scavenging Locations: Recycling Medical Kits |
15 |
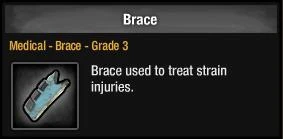
| Brace (Grade 3 Brace) |
Can be crafted at a Level 3+ Medical Bench using:
Likely Scavenging Locations: |
1 Thread 10 |
| Burn Dressing (Grade 1 Burn Dressing) |
Likely Scavenging Locations: | N/A |
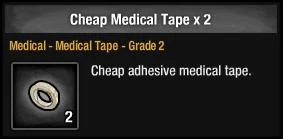
| Cheap Medical Tape (Grade 2 Medical Tape) |
Likely Scavenging Locations: | N/A |
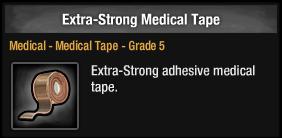
| Extra-Strong Medical Tape (Grade 5 Medical Tape) |
Likely Scavenging Locations: | N/A |
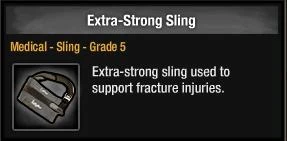
| Extra-Strong Sling (Grade 5 Sling) |
Can be crafted at a Level 5 Medical Bench (also requires Level 10 Medic) using:
Likely Scavenging Locations: |
20 |
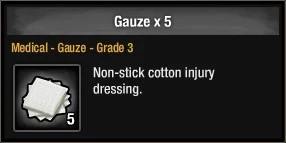
| Gauze (Grade 3 Gauze) |
Can be crafted at a Level 3+ Medical Bench using:
Likely Scavenging Locations: Recycling First Aid Kits or Medical Kits |
15 |
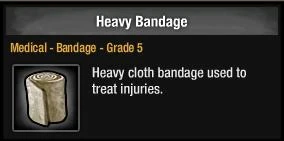
| Heavy Bandage (Grade 5 Bandage) |
Can be crafted at a Level 5 Medical Bench (also requires Level 10 Medic) using:
Likely Scavenging Locations: |
25 |
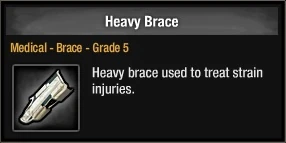
| Heavy Brace (Grade 5 Brace) |
Can be crafted at a Level 5 Medical Bench (also requires Level 10 Medic) using:
Likely Scavenging Locations: |
20 2 Strap |
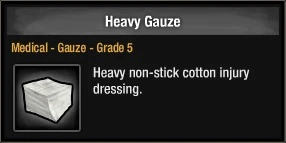
| Heavy Gauze (Grade 5 Gauze) |
Can be crafted at a Level 5 Medical Bench (also requires Level 10 Medic) using:
Likely Scavenging Locations: |
25 |
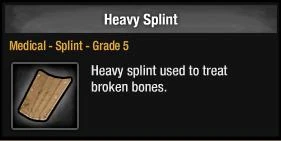
| Heavy Splint (Grade 5 Splint) |
Can be crafted at a Level 5 Medical Bench (also requires Level 10 Medic) using:
Likely Scavenging Locations: |
25 25 |
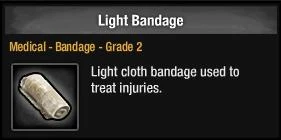
| Light Bandage (Grade 2 Bandage) |
Can be crafted at a Level 2+ Medical Bench using:
Likely Scavenging Locations: |
10 |
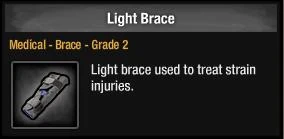
| Light Brace (Grade 2 Brace) |
Can be crafted at a Level 2+ Medical Bench using:
Likely Scavenging Locations: |
10 10 |
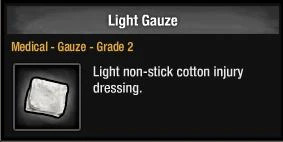
| Light Gauze (Grade 2 Gauze) |
Can be crafted at a Level 2+ Medical Bench using:
Likely Scavenging Locations: |
10 |
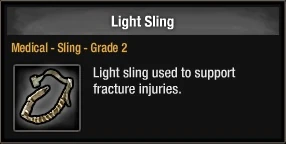
| Light Sling (Grade 2 Sling) |
Can be crafted at a Level 2+ Medical Bench using:
Likely Scavenging Locations: |
10 |
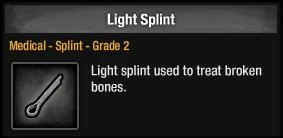
| Light Splint (Grade 2 Splint) |
Can be crafted at a Level 2+ Medical Bench using:
Likely Scavenging Locations: |
5 5 |
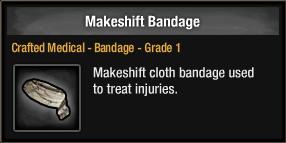
| Makeshift Bandage (Grade 1 Bandage) |
Can be crafted at a Level 1+ Medical Bench using 15 Likely Scavenging Locations: |
5 |
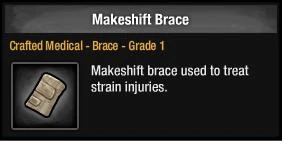
| Makeshift Brace (Grade 1 Brace) |
Can be crafted at a Level 1+ Medical Bench using:
Likely Scavenging Locations: |
5 5 |
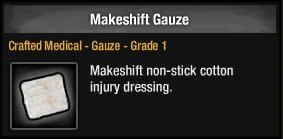
| Makeshift Gauze (Grade 1 Gauze) |
Can be crafted at a Level 1+ Medical Bench using 15 Likely Scavenging Locations: |
5 |
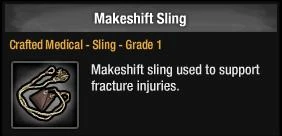
| Makeshift Sling (Grade 1 Sling) |
Can be crafted at a Level 1+ Medical Bench using:
Likely Scavenging Locations: |
5 |
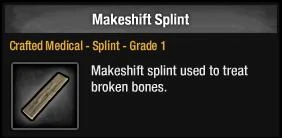
| Makeshift Splint (Grade 1 Splint) |
Can be crafted at a Level 1+ Medical Bench using 15 Likely Scavenging Locations: |
5 |
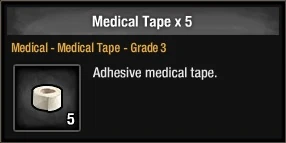
| Medical Tape (Grade 3 Medical Tape) |
Likely Scavenging Locations:
Recycling Medical Kits |
N/A |
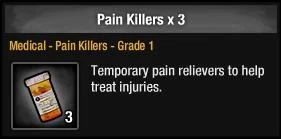
| Pain Killers (Grade 1 Pain Killers) |
Likely Scavenging Locations: | N/A |
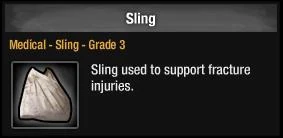
| Sling (Grade 3 Sling) |
Can be crafted at a Level 3+ Medical Bench using:
Likely Scavenging Locations: |
15 |
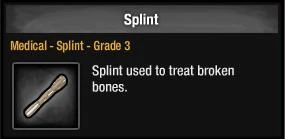
| Splint (Grade 3 Splint) |
Can be crafted at a Level 3+ Medical Bench using:
Likely Scavenging Locations: |
10 10 |
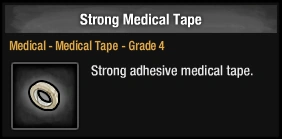
| Strong Medical Tape (Grade 4 Medical Tape) |
Likely Scavenging Locations: | N/A |
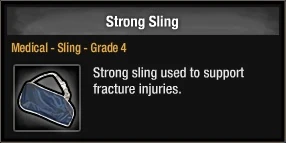
| Strong Sling (Grade 4 Sling) |
Can be crafted at a Level 4+ Medical Bench (also requires Level 8 Medic) using:
Likely Scavenging Locations: |
15 |
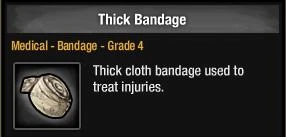
| Thick Bandage (Grade 4 Bandage) |
Can be crafted at a Level 4+ Medical Bench (also requires Level 8 Medic) using:
Likely Scavenging Locations:
|
15 |
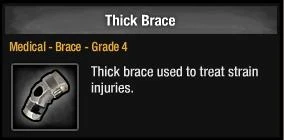
| Thick Brace (Grade 4 Brace) |
Can be crafted at a Level 4+ Medical Bench (also requires Level 8 Medic) using:
Likely Scavenging Locations: |
15 1 Strap |
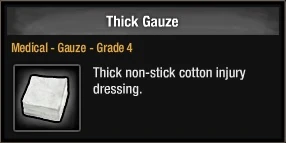
| Thick Gauze (Grade 4 Gauze) |
Can be crafted at a Level 4+ Medical Bench (also requires Level 8 Medic) using:
Likely Scavenging Locations: |
20 |
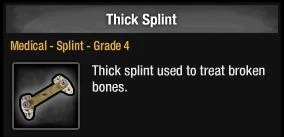
| Thick Splint (Grade 4 Splint) |
Can be crafted at a Level 4+ Medical Bench (also requires Level 8 Medic) using:
Likely Scavenging Locations: |
15 15 |
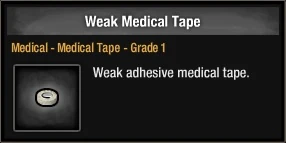
| Weak Medical Tape (Grade 1 Medical Tape) |
Likely Scavenging Locations: | N/A |